

Wavy sandwich panel walls, joints that gape at one end, a cold storage door that suddenly drags. These three complaints almost always trace back to the same cause, and the cause is not the panel. The culprit is usually the base: the concrete slab, the ground beam, or the base channel the first panel stands on. A panel simply passes on whatever its support hands it, then takes the blame.
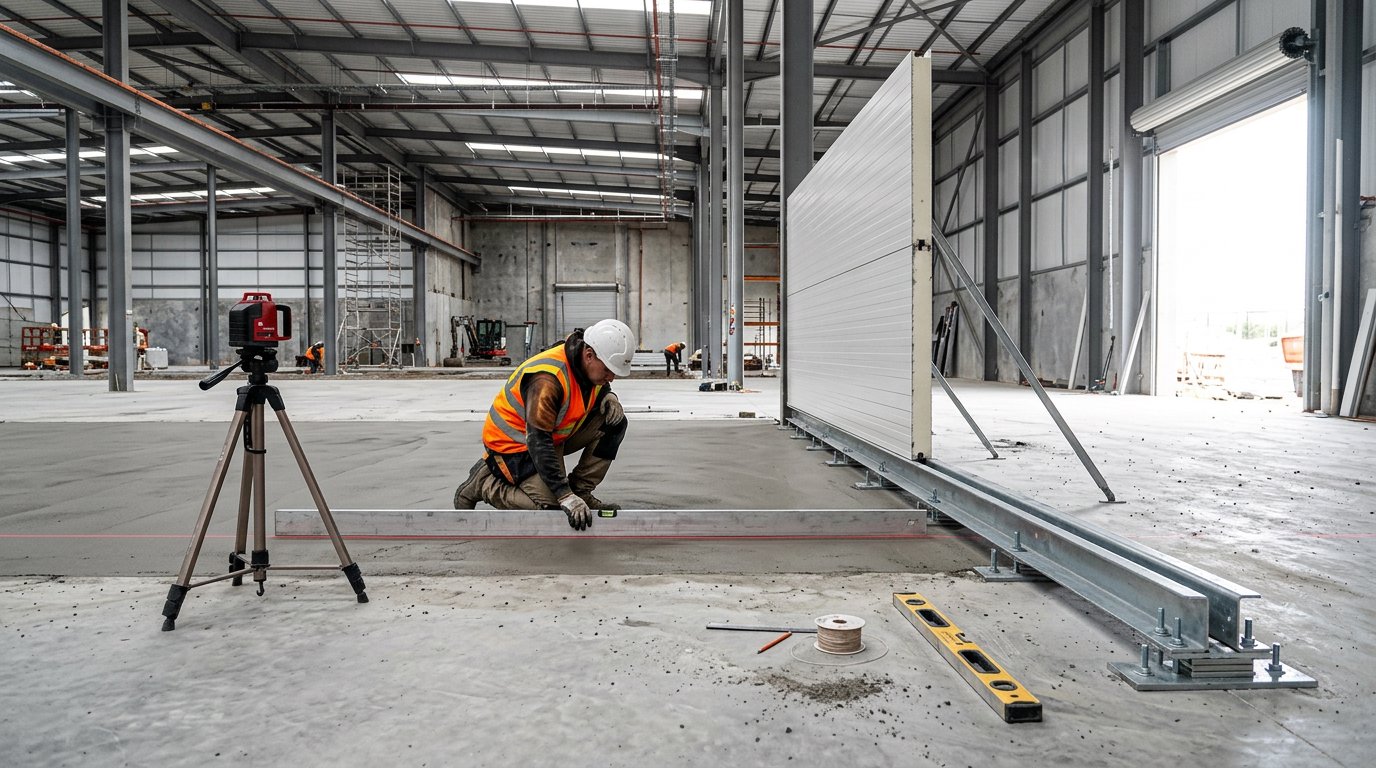
This article deals in numbers: how many millimetres of deviation are acceptable, how to measure them, and what has to be corrected before the first panel goes up. Panel erection itself is covered separately in our sandwich panel installation guide.
The panel is made flatter than the floor holding it
EN 14509, the product standard for metal-faced insulating panels, sets dimensional tolerances in Annex D. Deviation from flatness is limited to 0.6 mm over a 200 mm gauge length, 1.0 mm over 400 mm, and 1.5 mm over lengths above 700 mm. Panel thickness itself may vary by plus or minus 2 mm up to 100 mm thick, and plus or minus 2 percent beyond that.
Convert to common units and the comparison becomes uncomfortable: 1.5 mm over 700 mm is roughly 2.1 mm per metre. Now look at the slab. ACI 117-10 (reapproved 2015), the concrete tolerance specification most often cited in contracts, permits a maximum gap of 3/8 in, about 10 mm, under a 10 ft (3.05 m) straightedge, plus an elevation tolerance of 3/8 in from the specified level.
So the floor may legally wander by about 3.3 mm per metre while the panel standing on it is manufactured flat to 2.1 mm per metre. The support is looser than the product. That difference is exactly what later shows up as waviness in a finished wall, and no installation technique erases it.
The reference numbers that matter on site
- ACI 117-10: maximum 10 mm gap under a 3 m straightedge, elevation within 10 mm of specified.
- ACI 117-10 F-number classes: Conventional FF20/FL15, Moderately flat FF25/FL20, Flat FF35/FL25, Very flat FF45/FL35, Super flat FF60/FL40.
- ASTM E1155: the FF/FL measurement method, readings at 3 m intervals, carried out within 72 hours of placement.
- ASTM F710-21 for floors receiving resilient flooring: 3/16 in in 10 ft (4.8 mm over 3 m) and 1/32 in in 12 in (0.8 mm over 300 mm).
- EN 1090-2 and AISC 303: steel column plumb of 1:500 per storey, or 2 mm per metre of height. A summary of steel execution tolerances is available at SteelConstruction.info.
For the panel base line, work to something tighter than the Conventional class: aim for no more than a 3 mm gap under a 3 m straightedge, roughly 1 mm per metre, along the base channel route only. Away from that line the slab can stay looser, which keeps the finishing budget sane. Many Indonesian building specifications use a practical limit of 5 mm over 2 m for concrete surface flatness, a reasonable compromise figure.
For cold storage and cleanrooms, raise the slab specification to the Flat class (FF35/FL25). In those rooms flatness is not cosmetic. An uneven floor stops door gaskets sealing properly, and the resulting thermal leak runs for the life of the building, every hour of every day.
One point about FF/FL testing is worth knowing: ASTM E1155 always produces two figures, an overall value and a minimum local value, with the local minimum commonly set at about 60 percent of the overall target. A slab that averages well can still fail if one bay near a construction joint drops below the local limit, and that bay often sits right along the panel wall line.
How to measure before the first panel goes up
Measure first, never guess. The following sequence saves time and leaves a record you can defend:
- Run a rotary laser along the wall line and record the elevation difference every 1 m with a measuring staff. Write the figures down; do not settle for an impression that it looks level.
- Lay a 2 m or 3 m aluminium straightedge across that line and measure the largest gap with a feeler gauge or measuring wedge.
- Pull a nylon string from end to end to check the straightness of the wall line, not just its height. These are two different defects and they are routinely confused.
- Mark the highest point with paint. That point becomes your datum, because raising a low area is far cheaper than cutting down a high one.
Record everything on one sheet: position, deviation, plus or minus sign. That sheet is your evidence if a dispute later arises over who pays to rectify a wavy wall.
The correct order of correction
Correction happens before the base channel is fixed, not afterwards.
- Grind off high spots over 5 mm. Young concrete grinds more easily, so delaying this work raises its cost rather than lowering it.
- Fill hollows with non-shrink grout, not ordinary cement mortar, which cracks and breaks out under the point loads a base channel delivers.
- Take up small deviations under 3 mm with stainless steel shims beneath the base channel, spaced regularly so the channel does not bow between two shims.
- Once the channel is fixed, re-check its level with a spirit level before the first panel is leaned against it.
Do not use a thin sand-cement screed as a final levelling layer under the base channel. A few millimetres of screed has too little bond strength, and as soon as the anchor bolts are tightened it crushes, leaving the channel sitting on the original uneven surface again.
During erection, check plumb every three panels. Small errors accumulate quietly: a base sloping 2 mm per metre will push the top edge of the wall about 20 mm off after ten panels of one metre width. By then the joints are already gaping and the only remedy is to strip back to the datum.
Why this also affects panel life
An uneven base does not stop at appearance. A panel forced to sit on a sloping plane twists, and that twist adds permanent stress to the adhesive bond between the steel facing and the insulation core. Over years, stress of that kind is among the triggers of panel delamination. For roof panels, purlin alignment has a comparable effect on deflection, and the figures are set out in our span and purlin spacing tables.
FAQ
What floor flatness tolerance is safe for a sandwich panel wall?
A safe working figure is a maximum 3 mm gap under a 3 m straightedge along the base channel route, roughly 1 mm per metre. This is tighter than the general ACI 117-10 limit of 10 mm over 3 m, because panels are manufactured flat to 1.5 mm over 700 mm and have no give with which to absorb floor waves.
My panel wall is already wavy. Does it all have to come down?
Not necessarily. Measure the deviation first with a straightedge and string. If the waviness appears only in the last few panels and the error is under 10 mm, removing those panels and resetting the shims under the base channel is usually enough. If the deviation has been accumulating since the start of the run, stripping back to the datum point is the only repair that lasts.